Honeybucket Waste
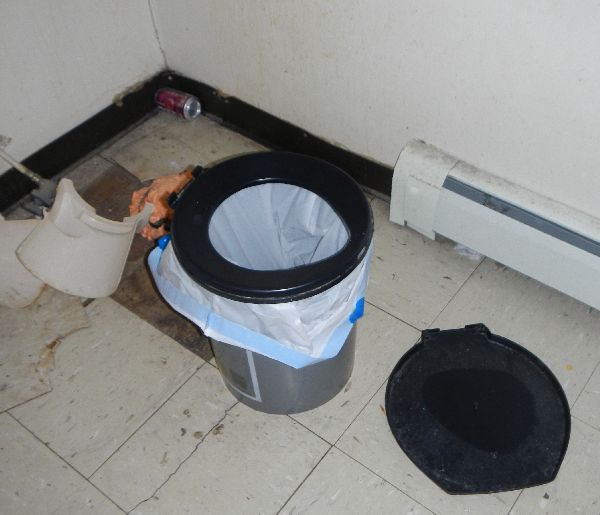
Honeybuckets are used throughout Alaska, even in communities with piped water and sewer systems. Regardless of location, every person who uses a honeybucket, even just once in a while, has the same obligation to properly dispose of that waste. Human waste poses a very real public health risk if it is not disposed of properly, so everyone using a honeybucket must do their part to protect themselves and those around them. While this fact sheet focuses on how to dispose of honeybucket waste, guidelines for protecting your health while handling and transporting honeybucket waste can be found on the Centers for Disease Control and Prevention website.
Management Options
Each community must also do its part to protect public health. One way to do this is to have a clearly communicated procedure for safely disposing of honeybucket waste. Having a community-wide plan will help minimize the health risks honeybucket waste poses to community residents.
The goal in disposing of honeybucket waste is to prevent people and animals from contacting the waste. The best option for a community-wide plan is to have a designated honeybucket disposal facility. Ideally, this is either associated with the community’s sewage lagoon or is located near the sewage lagoon. If a community is replacing or upgrading its sewage lagoon, it should ask the design engineer to include a honeybucket disposal area as part of the lagoon. The next best option is to construct the honeybucket disposal facility near the lagoon. Honeybucket waste should not be disposed of with municipal waste (household waste) in the landfill.
Outhouse
As an individual, you can help reduce the amount of honeybucket waste in your community by building and using an outhouse at your home if that is possible. Although outhouses are not possible everywhere and may not be the best option for everyone, using an outhouse avoids having to dispose of honeybucket waste and meets the goal of preventing human and animal contact with this waste. Requirements for Outhouses:
Requirements
- Outhouses cannot be located within: 100 feet of any surface water, wetland, or non-public potable water system; or 200 feet of the source water for a public water system.
- There must also be at least: 4 feet between the bottom of the outhouse hole and the seasonal high groundwater table, and 6 feet between the outhouse hole and an absorption field.
- Using an outhouse if this is possible in your area
- Disposal in a designated honeybucket area at the sewage lagoon
Bad Practices (can spread disease)
- Storing in your yard until spring break up
- Disposal in the river, in a tundra pond, or in the woods
- Disposal with the rest of the waste at the landfill
 Indicates an external site.